When greens are in abundance, preserve the harvest by making a super nutritious greens powder! There is a surplus of quality "Green Powders" on the market, but did you know you can make your own at home for a very small fraction of the cost? It's easy and this is the perfect time of year to get started!
Whether a plethora of greens come home in your Community Supported Agriculture (CSA) farm share or are in bountiful growth at home in your garden, once you discover this how-to, you will never toss another nutrient-dense green into compost again!
Join me on my first adventure making a home-made greens powder.

How To Make Greens Powder:
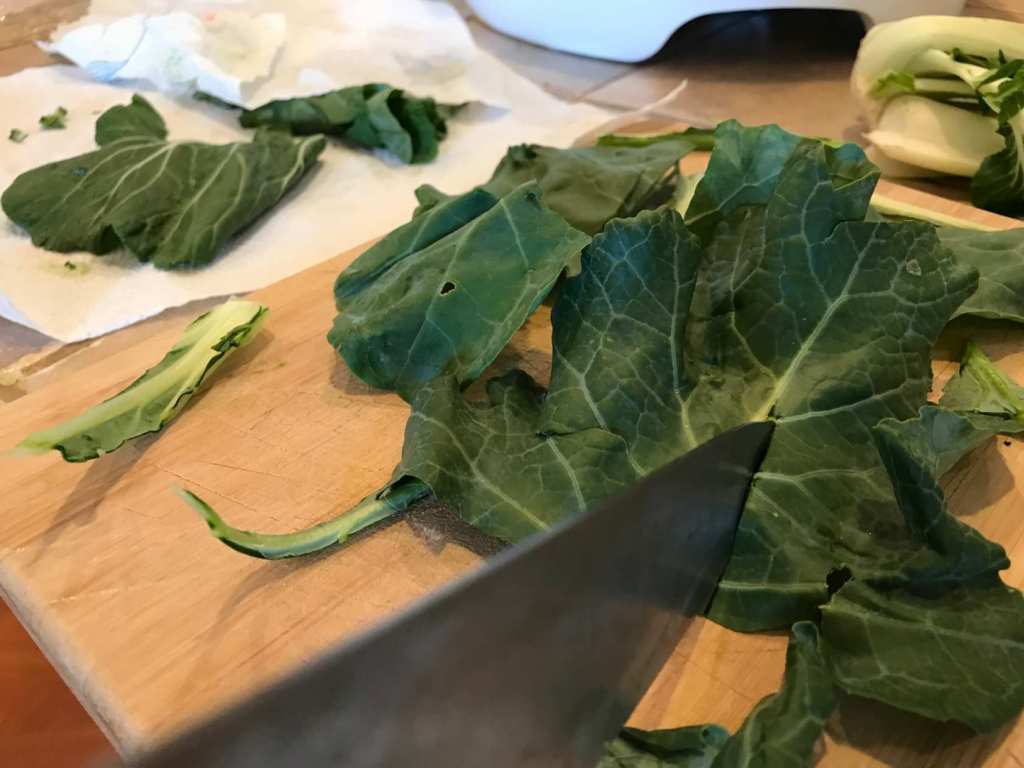
1. CUT
Start by cutting the stems off your greens. If they're large leaves, cut for the best fit in your dehydrator.
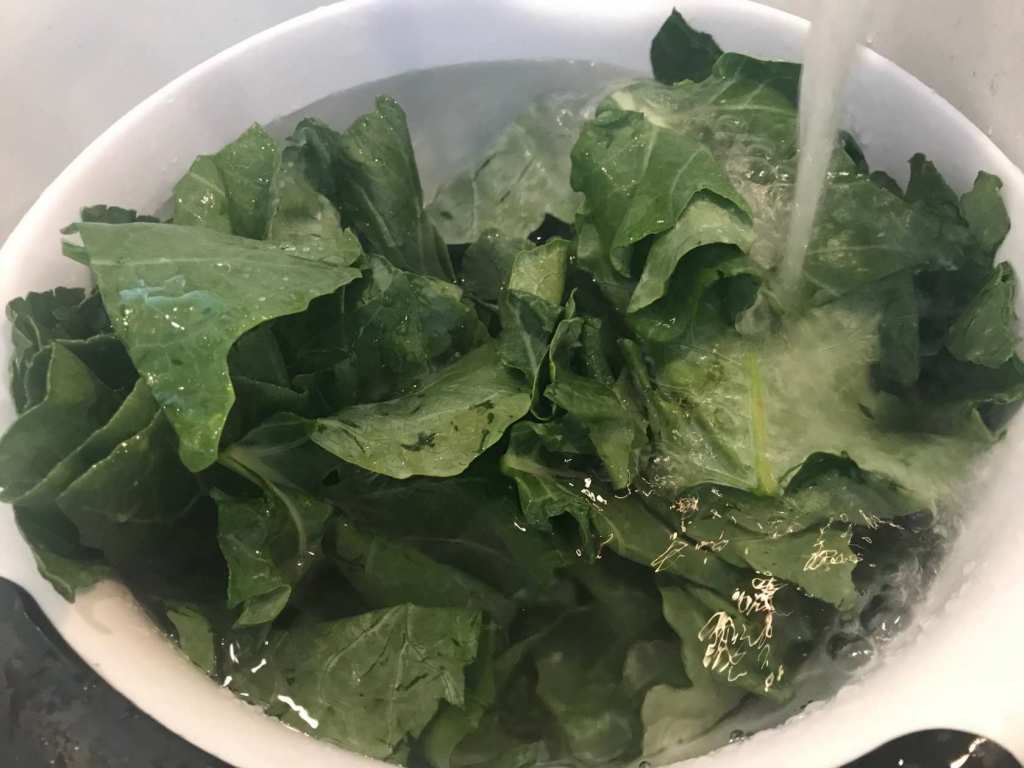
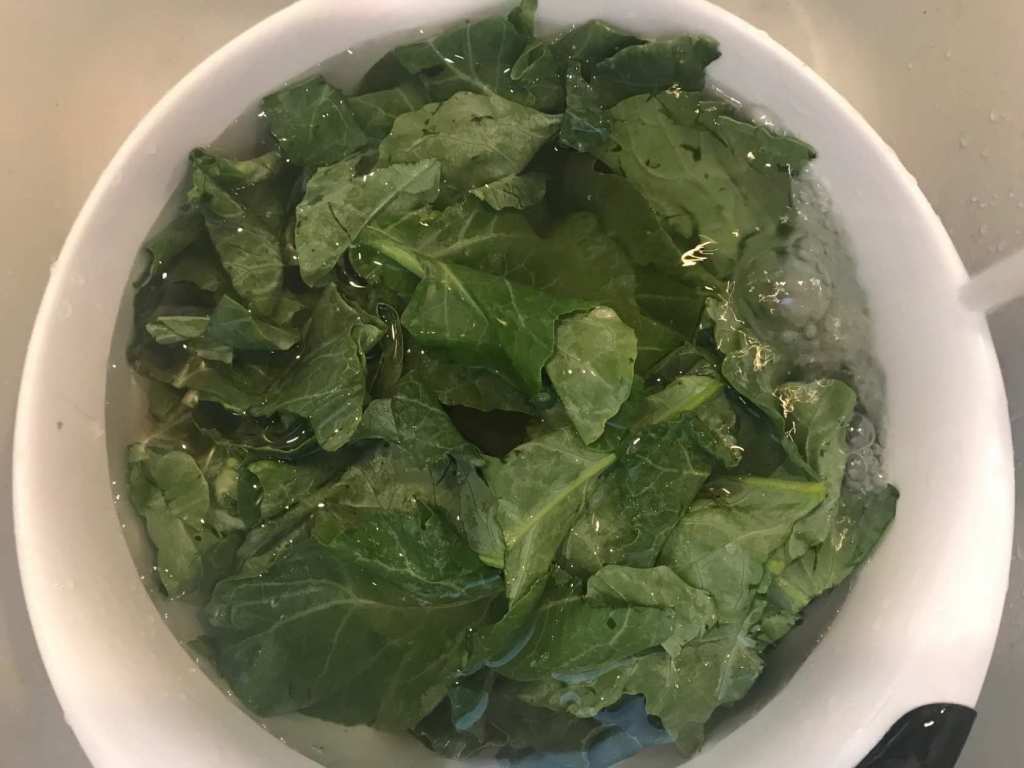
2. RINSE
Next, rinse your greens by submerging in cold water. Swoosh them around to break loose any dirt or bugs that may have come home and repeat.
Do I have to rinse my greens even if they're organic? It's always a good idea to give even organic greens a healthy dunk & rinse in cold water before eating, but never before storing. The nutrient rich soil your greens are grown in, surely are good for those whose hands toil it and for the plants that grow in it, but who likes biting into grit? Yuck! Not me. I only recommend skipping the rinse/dry step to those who grow & harvest at home.
3. DRY
Dry greens & remove any in-lining thick stems.
When prepping for the purpose of dehydrating, it's best to eliminate all moisture. Any excess moisture that isn't removed is counter-productive and slows down the dehydrating process. You can remove the moisture from your greens by using a salad spinner, if you have one. I dried each individual leaf between two paper-towels. Next time, I'll try leaving the greens out a little longer to dry before hand drying them. In a dry, desert climate like mine, Mother nature is a natural sew-chef for this job.
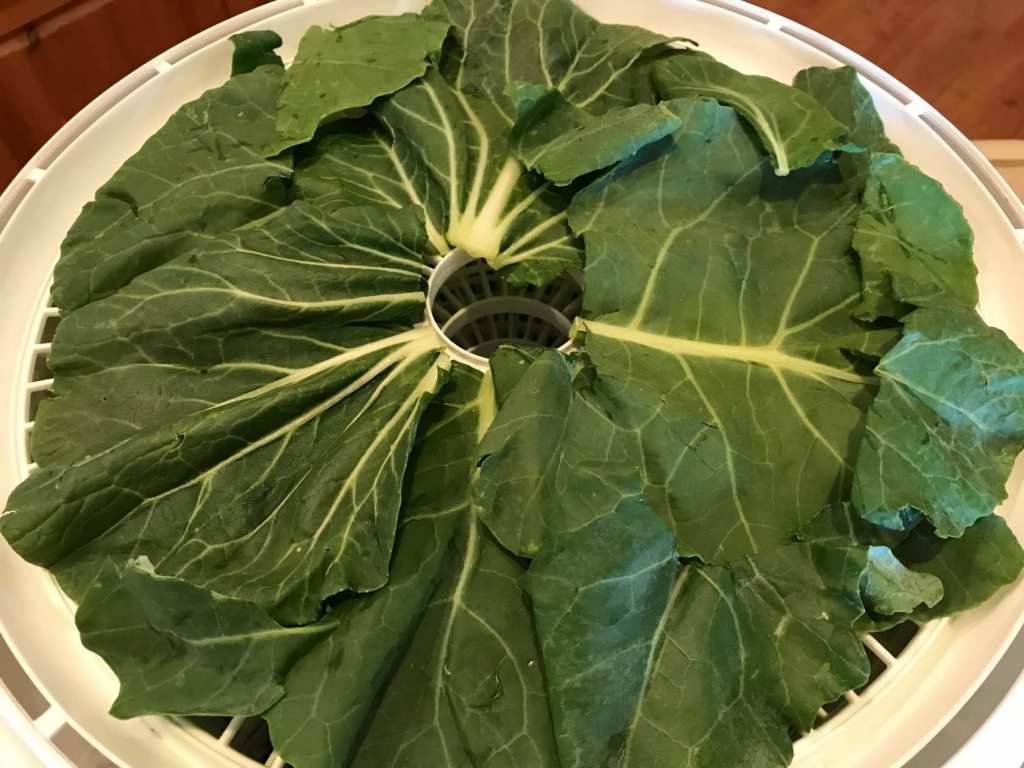
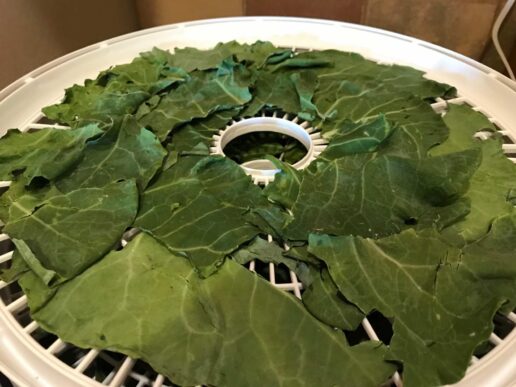
4. PLACE
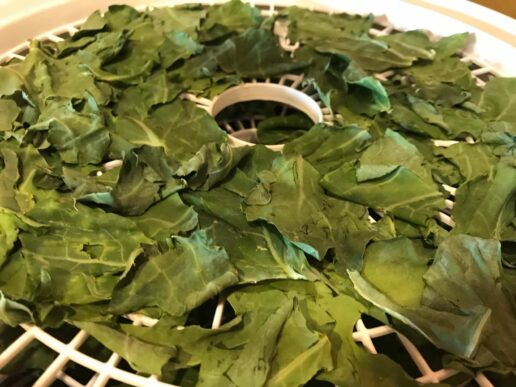
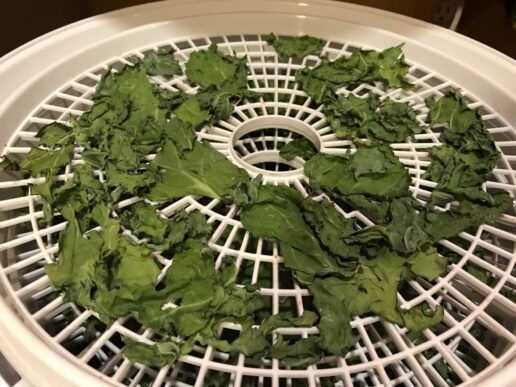
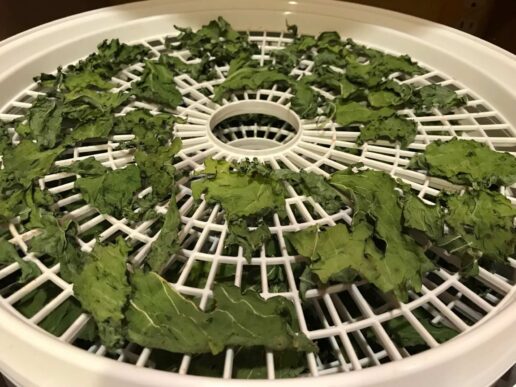
Now you're ready to dehydrate! Place greens on dehydrating racks (or on a cookie sheet if using your oven). I've seen people do this a number of ways. My first time, I was careful to leave space between each leave but this produced very little yield. This time I packed together a grip of leaves for better yield! Leaving little space between leaves with an overlap of no more than 2 on top of one another. However, my leaves are going on 5 hours now and those on the bottom or those that weren't covered are already dry, while those on top of another leaf had to be re-positioned to their own vacant space.
Beginner Pondering: Had I left them overnight, would this extra re-positioning step have been necessary? Try #3 will surely be an attempt to generously stack without catering to, and instead give extra drying time.
5. DEHYDRATE on low 4-5 hours or overnight
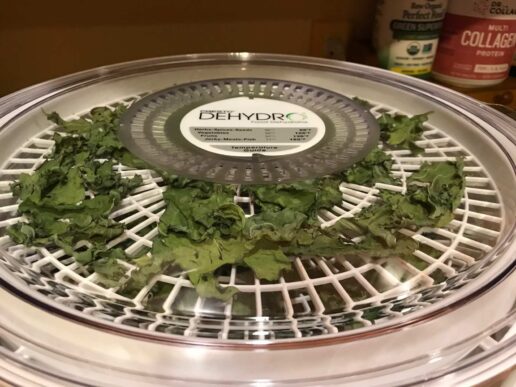
Choose a dehydrating temperature below 110* in order to preserve nutrients. I do this exclusively for the nutritional benefits and choose to set my temperature at 94*. I don't mind it taking longer, as long as the time I put in results in nourishment. I don't see the point in making super nutritious greens into a powdery green cardboard, so I stayed well below on the safe side.
This same rule applies to other cooking methods of live foods. Keep the heat low to preserve delicate nutrients and enzymes in wholesome, healthful living food. Food that sustains our fragile human lives, God willing, for a lifetime!
6. REMOVE
Once your greens are crisp, crack between your fingers, and lack any sign of moisture, the dehydrating process is complete. You can remove those crispy, superfoodie greenies!
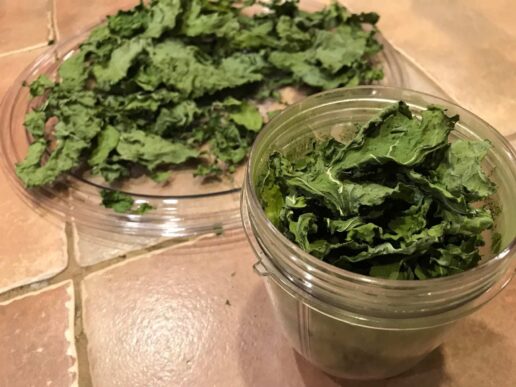
Transfer the leaves whole into a mason jar to store for future use in soups, or other off season recipes.
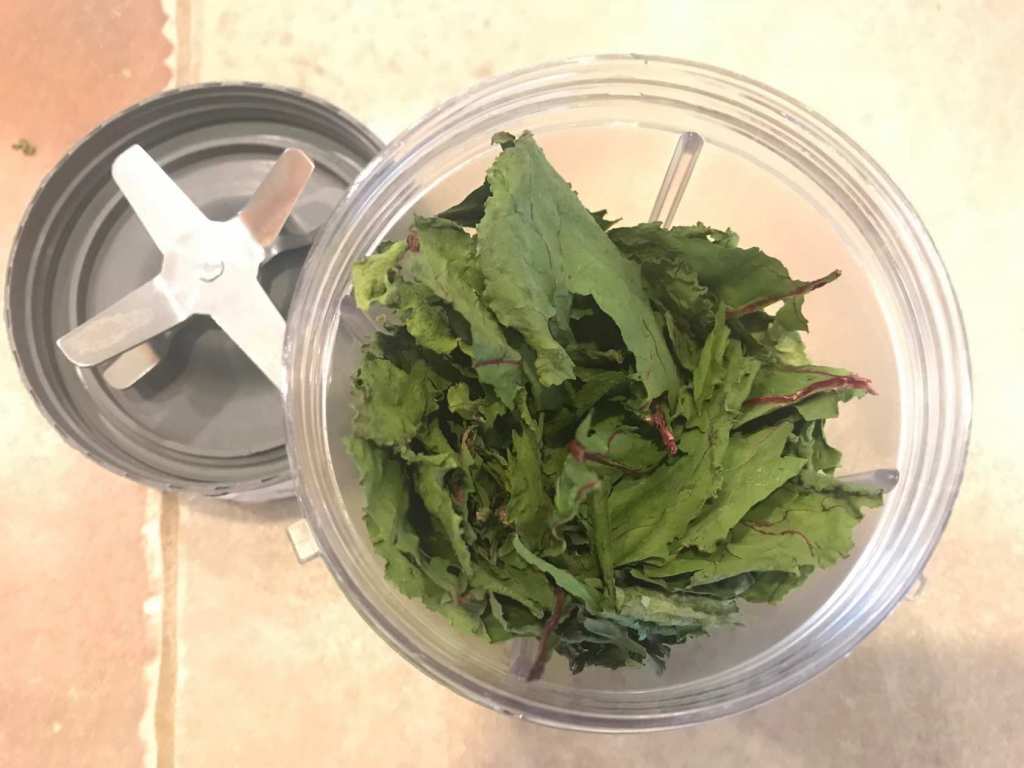
7. GRIND & STORE
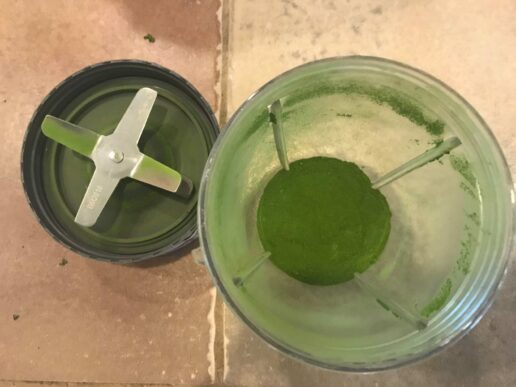
To make a Greens Powder, you can use a blender, food processor or old coffee grinder (to remove coffee smell & taste, simply grind with white rice). Place leaves in and grind. The resulting powder can be stored in a mason jar or any air tight container for future.
Pictured below was my first try and resulting yield; which turned out to be the equivalent of one scoop in a name brand serving of Greens Powder.

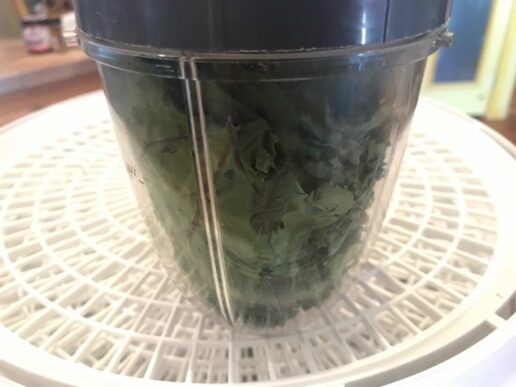
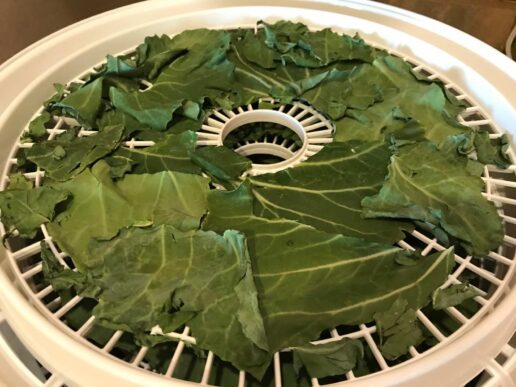
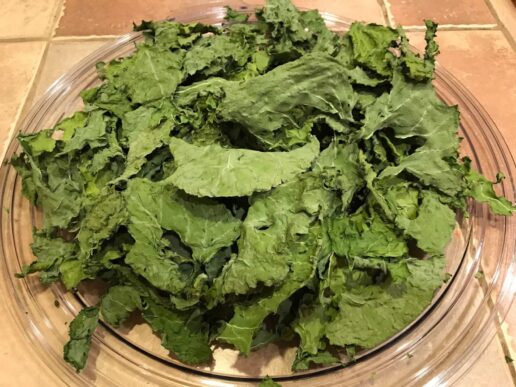
Pictured below is what my greens looked like, an hour after dehydrating.
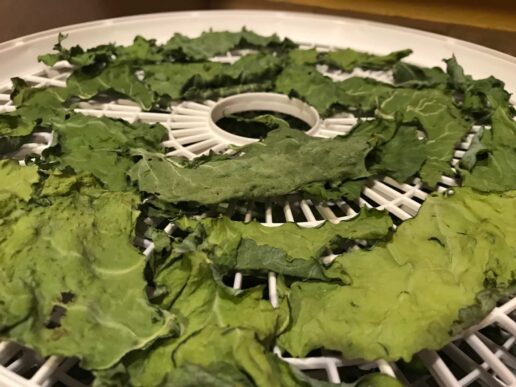
Pictured below, after 3 hours.
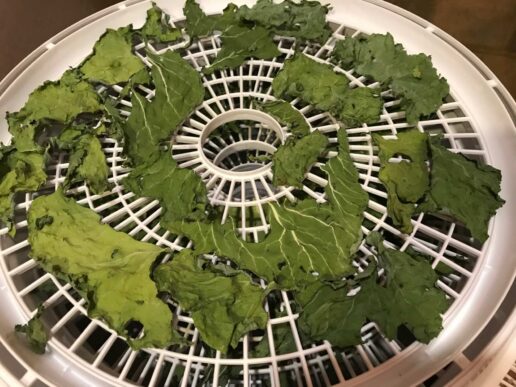
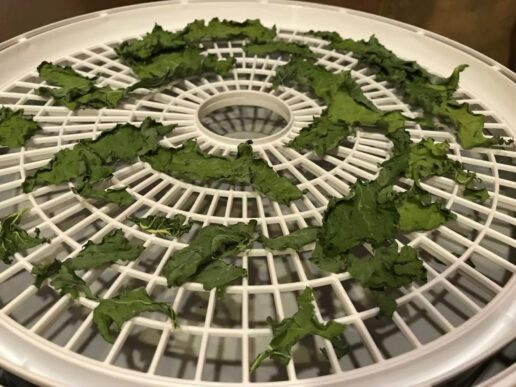
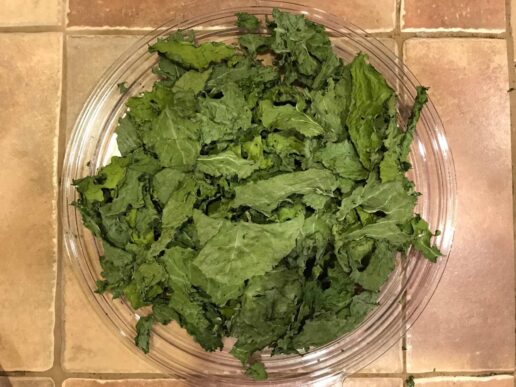
After 5 hours, they are done! You can see how much they shrink down.
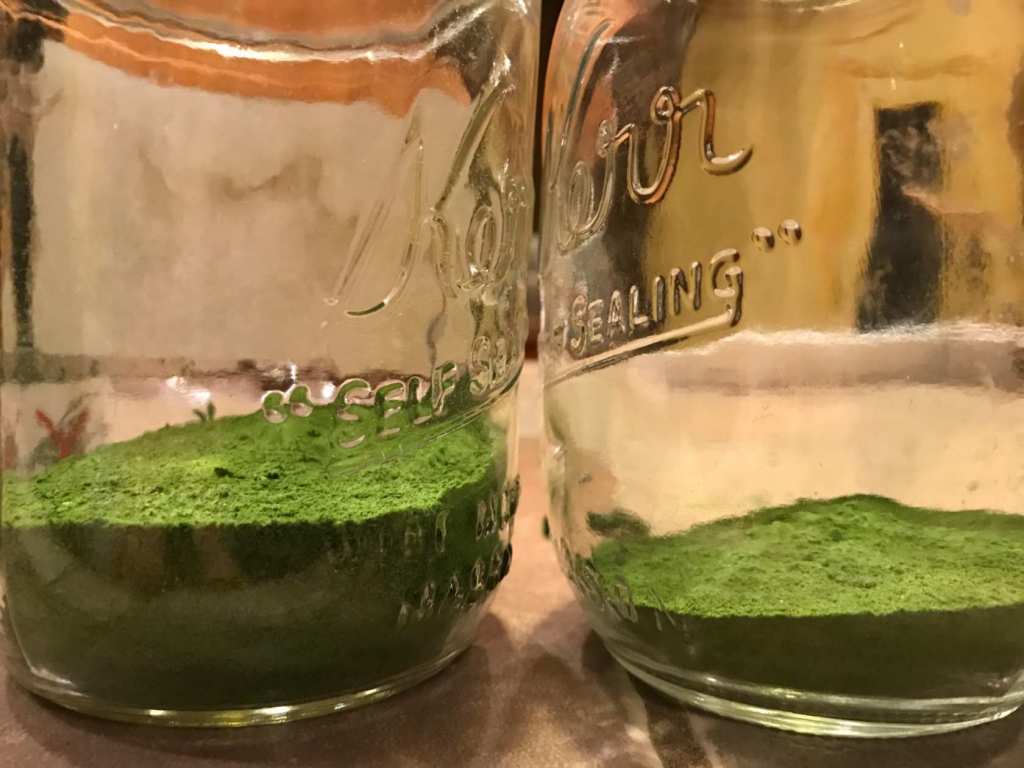
Here was my yield from 1 bunch of Broccoli greens and 2 bunches of Bok Choy:
Total ground yield on the left, as compared to yesterdays smaller yield (about 3x as much):
Store in the fridge and use in your smoothies for a super boost of nutrients!
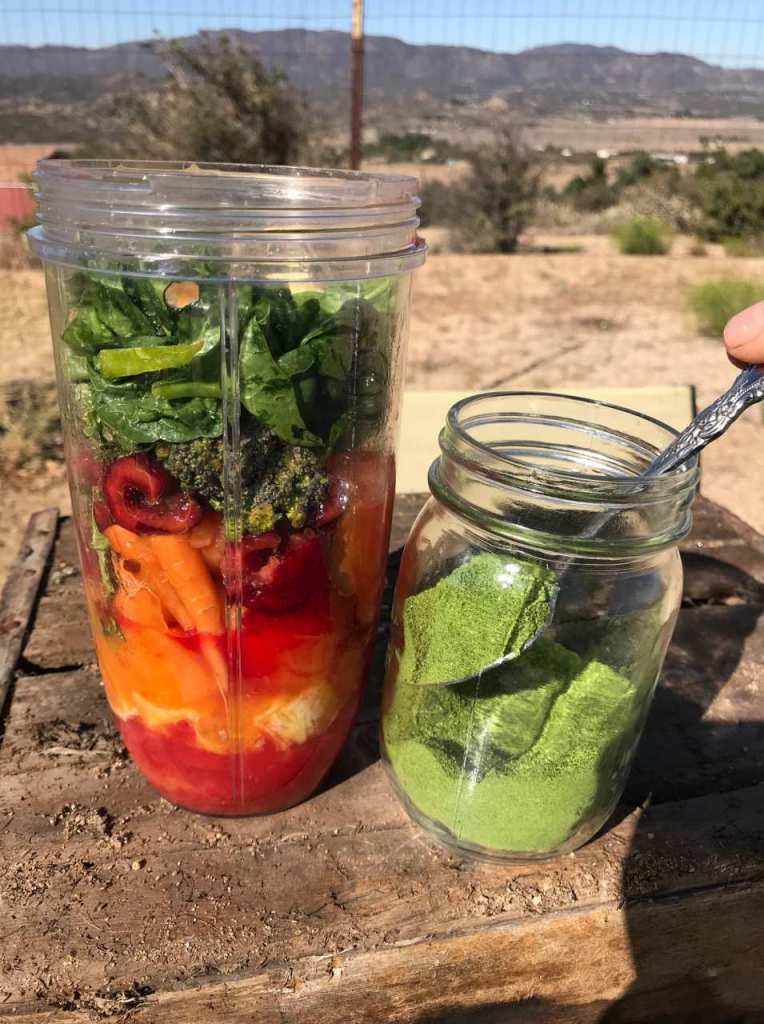
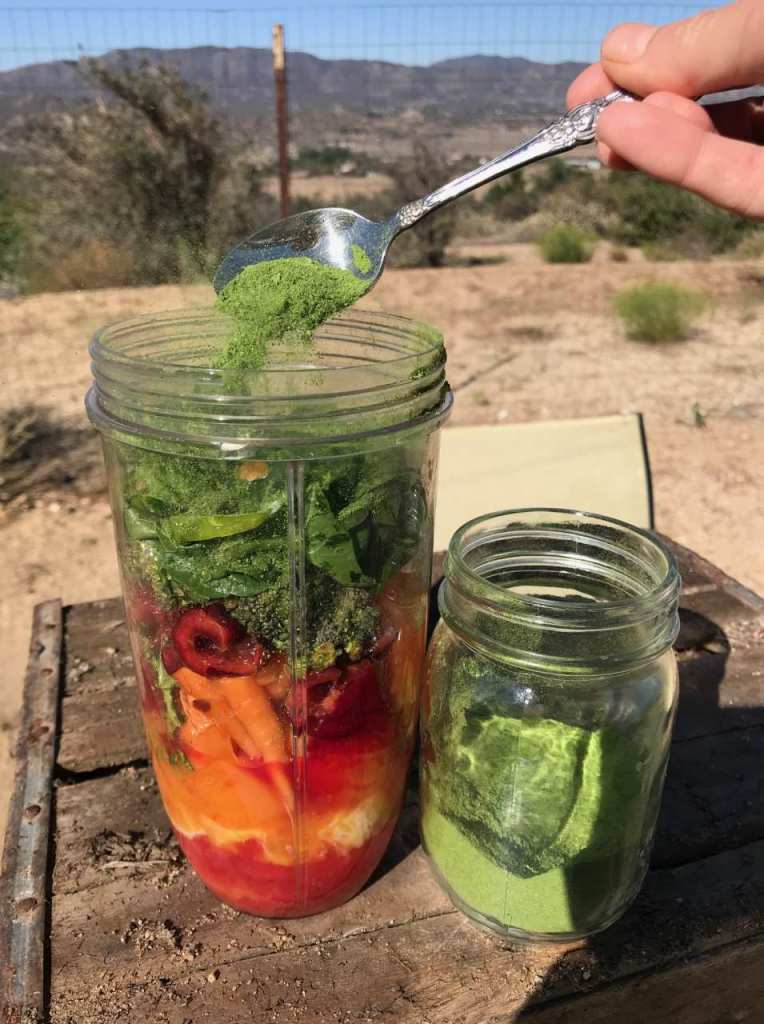

Give thanks... and enjoy!
Share your comments, suggestions & questions below.
Follow us on Instagram & Facebook @SageMountainFarm
Visit www.sagemountainfarm.com for more information about our farm.
Together, let’s get healthy!
Many blessings to you and yours!